Smart Parts' Vibe
by Bill Mills - Photos by Dawn Mills - Aug 2008
Disassembly - Page 2
Features HowItWorks Disassembly Adjustment Testing Data
Continued from disassembly page one.
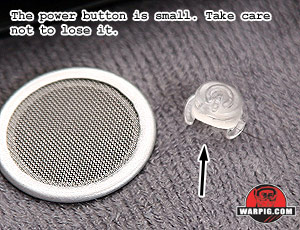
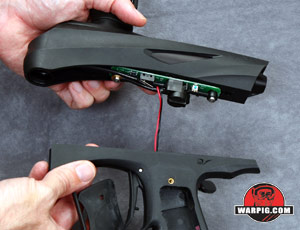 Attention must be paid to the small clear power button. It is only held into the grip frame by the pressure of the circuit board power button on its back, so it can easily fall out and become lost when the grip frame is removed.
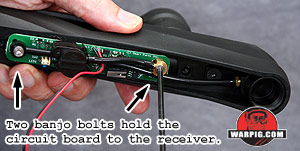 Two gas-through banjo bolts connect the circuit board to the aluminum inner body. These can be loosened with a hex wrench, but care must be taken so that they both come free about the same time. Unscrewing one all the way, while leaving the other tight can stress the circuit board and solenoid valve assembly.
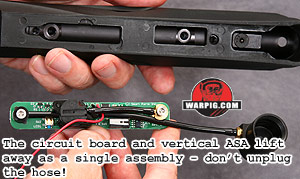
 At this point the circuit board will still be connected to the receiver by a short length of low pressure hose. It can be tempting to simply unplug the hose, but this is not wise. The hoses used internally in the Vibe are stretched over barbed fittings. Removing them stretches them further, to the point that they will not hold a seal for long after being re-attached. The low pressure hose should only be removed if it is going to be replaced with new, unused hose.
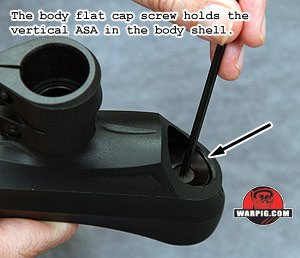
 The body flat cap screw in the front of the marker can be unscrewed to release the vertical ASA from the front of the body assembly. This allows it to come away from the body with the circuit board, leaving the hoses intact.
If it is necessary to separate the circuit board from the vertical ASA, unscrewing the brass barbed hose fitting from the ASA will prevent hose-stretching.
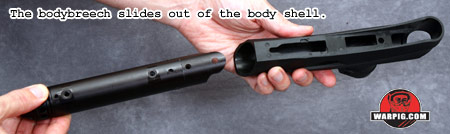
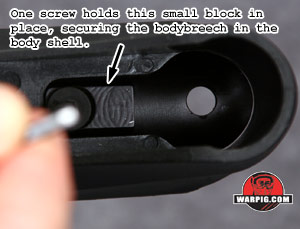 One final screw holds a small locking lug into the bottom of the body breech. Removing this allows the body breech to slide out of the outer body shell, taking the marker completely apart. This level of disassembly should only be normally needed to replace the ball detents, which simply plug into the sides of the body breech.
The marker is assembled in the reverse order of disassembly.
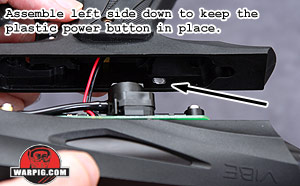 The tricky point during reassembly is sliding the grip frame back up into place. This must be done with the left side facing down, so that gravity holds the clear power button in its hole. The battery clip and wires must be guided down into the grip frame so that they do not bunch up or kink. Finally, the low pressure hoses must be checked. They can flex slightly out of position, blocking a smooth fit between the grip frame and outer body shell. If this happens it is important to get them into position, as simply forcing the two parts together can pinch a hose against the circuit board damaging either the hose or board, neither of which is a good thing.
Continue to Adjustment .